Home improvement projects are important to maintain and increase the value of your home. They can also make your home more comfortable and energy efficient. DIY projects can be a great way to save money and add personal touches to your home.
DIY projects are often cheaper than hiring a professional to do the work, and they can also be a great way to learn new skills and increase your knowledge about home improvement projects.
DIY projects can also be a great way to spend time with family or friends and create a sense of accomplishment. This article will discuss different DIY home improvement projects that won’t break the bank.
Let’s get started.
DIY Home Improvement Projects
1. Painting a Room
The transformative power of paint: Paint is one of the most powerful tools for transforming a room and creating a unique atmosphere. Painting a wall or ceiling can completely change the entire room’s look. It can also highlight certain features or add color and texture to the space.
Here are some tips to start painting a room:
- Prep the room: Remove furniture, fixtures, window treatments, and wall hangings; fill in any cracks or holes; and wash the walls.
- Choose a paint color and type: Select a paint color that fits your room’s overall design and a paint type suited to the room’s environment and use (i.e., interior, exterior, high-gloss, etc.).
- Prime the walls: Use a good-quality primer to seal the walls and create a smooth surface for your paint.
- Paint the edges: Start by painting around the edges of the walls and corners.
- Roll on the paint: When the edges are done, use a roller to apply the paint to the remaining wall area.
- Touch-up: Once the paint is dry, touch up any areas that may have been missed or need more coverage.
- Cleanup: Clean up your supplies and put everything away.

2. Updating Cabinet Hardware
Updating cabinet hardware is an important part of home decor. Quality hardware can add a touch of elegance to any kitchen or bathroom while providing functionality.
When choosing hardware for cabinets, selecting items that complement the existing decor is important. Choose pieces that match the existing hardware’s size, shape, and style.
There are many affordable and stylish options for cabinet hardware. Consider shopping at discount stores or online for unique finds.
Installing new hardware is a relatively simple process. First, remove the existing hardware, then clean the surface. Then, line up the new hardware and mark the holes on the surface. Finally, drill the holes and secure the hardware.
Use the right tools and materials to ensure a secure and lasting installation. Make sure to use the right type and size of screws, and use a drill bit the same size as the holes in the hardware.
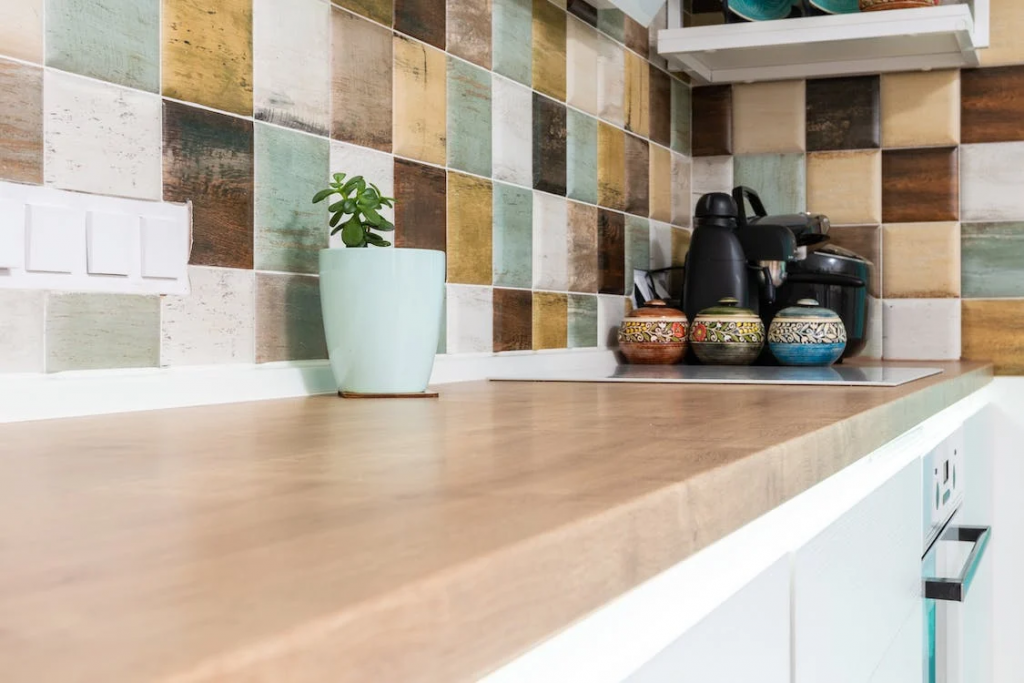
3. Installing a Backsplash
Adding a backsplash is a great way to add an attractive, low-maintenance feature to your kitchen. It can help protect walls from splashes and spills and add a unique style to the room.
Many affordable materials for a backsplash include ceramic tile, vinyl, and stainless steel. Before installing a backsplash, measuring the area to get the correct size is important. It is also important to check the walls for any damage and make any needed repairs.
Installing a backsplash is an easy process. The first step is to lay out the tile on the wall to ensure it fits. Then, the tile should be cut to size, if necessary. Next, the adhesive should be applied to the back of the tile and pressed onto the wall. Finally, grout should be applied to the joints and left to dry.
Make sure to wipe away any excess adhesive or grout from the tile before it dries. Also, use a level to ensure the tile is even. Finally, seal the grout to protect it from moisture and dirt.
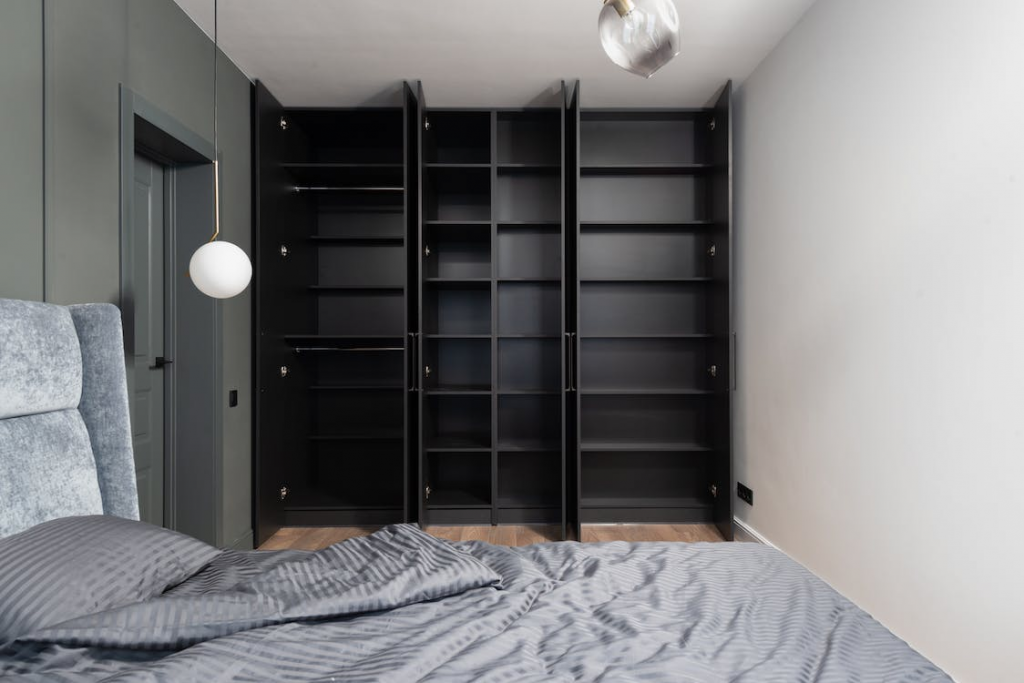
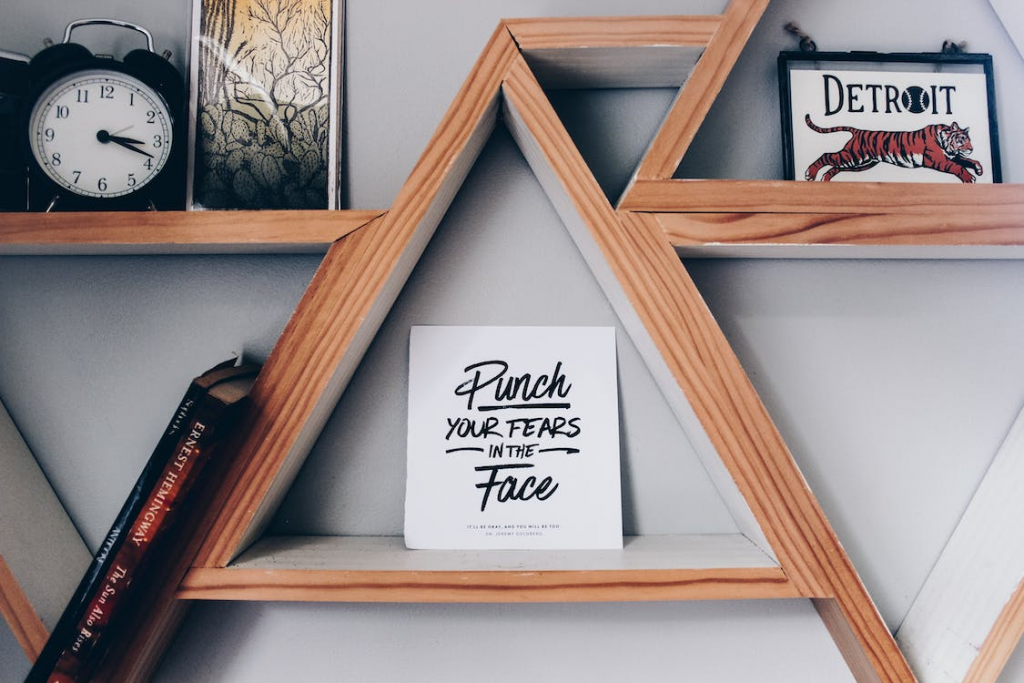
4. Installing shelving
Adding shelving is a great way to utilize wall space, increase storage, and help organize a room.
Shelving can be made from wood, metal, or plastic. Floating, corner, and adjustable shelves are just some of the many shelving options available. Before installing shelving, measuring the area and ensuring all the necessary materials are on hand is important.
To install shelving, first mark the wall where you want to hang the shelves. Then, use a drill to attach the brackets to the wall and secure them with screws. Place the shelves on the brackets and secure them with screws or anchors.
There are many creative ways to display items on shelves. Try using baskets, boxes, or decorative objects to make the display unique and interesting.
Summary
DIY home improvement projects can be a great way to save money and add value to a home. Homeowners should research their project, create a plan, and have the right tools and safety equipment before starting.
Homeowners should also take their time and be patient while working on their projects. Finally, homeowners should consider hiring a professional contractor if a project seems too difficult.